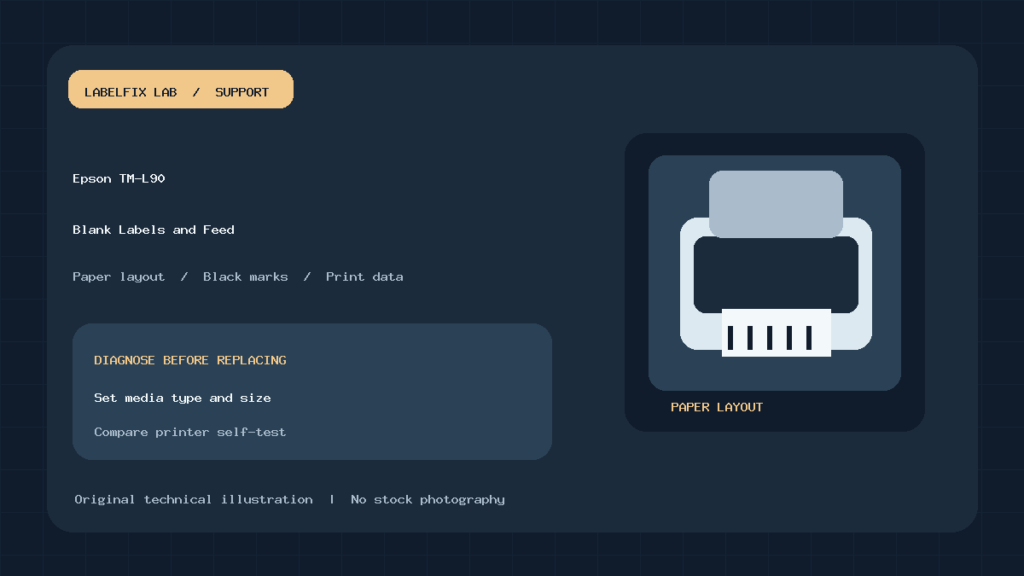
Quick answer: If an Epson TM-L90 prints blank labels, skips stock or feeds paper without useful text, first distinguish an imaging failure from a paper-layout or sensor problem. The TM-L90 family can handle different receipt and label media configurations. Epson documents that changing paper type or size may require updating the printer’s stored layout information. A device that feeds labels but has the wrong layout may look broken even when the print mechanism is functional.
This guide covers original TM-L90 label and receipt workflows, including black-mark media and peeler models where fitted. It is not a substitute for the precise technical reference for your hardware or firmware. Do not assume an Epson TM-L90 Plus liner-free configuration or a similarly named model has identical loading and settings.
What symptom is the printer showing?
| Symptom | Likely investigation | First comparison |
|---|---|---|
| Plain white paper advances with no image | Thermal surface, print data, driver, head or power | Supported self-test versus app print |
| Printer repeatedly feeds and cannot find a label edge | Paper layout, gap, black mark or sensor | Loaded media against configured paper type |
| Error LED flashes twice after paper change | Layout recognition procedure | Use Epson’s specified recovery steps |
| Black-mark labels fail while plain roll works | Special black-mark layout configuration | Verify manual layout settings in Epson utility |
| One label prints, then excessive paper feeds | Length, mark positioning or peeler/issue mode | Source format versus label pitch and mode |
| Printer prints local test but POS sends nothing | Interface, driver, ESC/POS or application | Isolate host-to-printer communication |
1. Verify the TM-L90 variant and intended paper
Check the full model identification and whether it is a peeler, label or receipt configuration. Epson’s TM-L90 User’s Manual explains standard roll loading, status indicators and paper-layout behavior. The separate TM-L90 / Peeler Technical Reference addresses paper-type differences and peeler routing.
Do not borrow a procedure from a different Epson receipt printer without checking its media width, roll orientation and sensor configuration. A standard receipt roll, a die-cut label roll and a black-mark roll give the printer different boundary information.
2. Load thermal paper in the specified direction
A direct-thermal printer depends on its heat-sensitive print surface facing the printhead. If the roll is reversed or its thermal coating isn’t compatible, a printer may feed normally but create blank output. Epson’s illustrated TM-L90 user manual shows the correct roll direction, guides and cover closure. Use the specific diagram for your printer rather than a generic “paper unwinds this way” rule.
- Stop the current job and allow the printhead to cool before touching the media path.
- Open the cover using the model’s documented lever and remove any remaining core.
- Load approved paper in the direction shown by Epson.
- Draw out enough media between the guides; avoid curling or folding the stock.
- Close the cover fully and let the device complete its supported feed behavior.
- Run a safe manufacturer-supported print test before changing the POS app.
Do not use metal objects on the printhead or pull adhesive stock forcibly through a closed mechanism. Paper dust and label glue can require cleaning under Epson’s maintenance procedure.
3. Paper layout is a stored printer setting
This is the TM-L90-specific detail many generic “blank label” articles miss. Epson states that before printing on new paper types and sizes, the layout information may need to be established. Changes from receipt paper to full-surface labels, die-cut labels or black-mark media can leave the printer tracking the wrong boundary. The result may be extra feeding, an apparent paper-out condition or a print-area mismatch.
The technical reference describes both automatic and manual paper-layout settings, depending on paper type, firmware and operating workflow. Do not assume the driver selecting a new paper size always updates the printer’s own layout memory. If a standard compatible roll works and a new label roll does not, compare exact material and registration features.
4. Recognize the twice-repeating ERROR LED
In the user manual’s paper-type-change procedure, a twice-repeating ERROR light indicates a layout problem. For supported media, Epson describes opening the roll-paper cover, loading the roll and closing the cover so the printer feeds and updates the paper layout. Follow the exact documented state; this is not an instruction to continually open the cover whenever an error appears.
Exception: Epson cautions that black-mark die-cut labels may not recover through the simple open-and-close procedure. These can require manual setup in the Memory Switch Setting Utility or other manufacturer-documented method. A blanket recommendation to “calibrate by closing the lid” would be inaccurate for every TM-L90 media type.
5. Black-mark labels need the correct sensor and layout
Black marks tell the device where a label or receipt segment begins. The sensor expects specific mark dimensions, placement and reflectance, and the paper must meet the model’s specification. Epson’s technical reference expressly distinguishes receipt paper with black marks from die-cut label paper with black marks. Some layouts can be learned automatically, whereas others require a manual paper-layout definition.
Before editing memory-switch settings, record the current paper type and size. Use Epson’s approved utility for this exact TM-L90 configuration. Wrong ESC/POS commands or random memory-switch values can affect a busy checkout printer and create a larger outage. Our paper-out despite loaded labels guide covers generic sensing faults; the Epson manual supplies the model-specific exception.
6. Compare a printer test with the POS application
A supported self-test or configuration print can help establish whether the print engine creates a visible image independently of the POS. If the local test prints clearly while the application prints blank receipts, the next step is the selected printer interface, compatible driver, command stream and print format. If the built-in test is blank on known-approved correctly loaded thermal stock, inspect the physical imaging system per Epson guidance.
Do not blindly reinstall a Windows print driver if the actual connection is from a managed POS terminal using ESC/POS commands. Also, don’t interpret paper feeding alone as proof that the printer received valid text; the data can be missing, outside the configured print area or incompatible with the selected mode.
7. Use the right driver and paper size
Epson’s Technical Reference discusses Advanced Printer Driver (APD) and ESC/POS workflows. The stored layout, application print area and driver configuration must agree. A receipt template designed for continuous paper may not map to die-cut labels without correct boundaries and page length. Keep a copy of the approved template and record which app produced the bad job.
If a printed image is merely offset or clipped, compare the source layout before altering mechanical parts. The top-margin troubleshooting guide explains general origin and vertical-offset symptoms, while TM-L90 media handling still follows Epson’s reference. Do not shrink critical barcodes to hide a layout problem.
8. Peeler models have another feed state
On TM-L90 peeler configurations, the paper path and issue mode can differ from the standard model. Epson illustrates separate routing for peeling and continuous issuing, including a label-peeling sensor and backing-paper path. A machine waiting for a removed label can appear paused, while incorrect liner routing can cause feed problems. Identify whether the peeler accessory is fitted and use its exact documentation.
The peeler should not be defeated with tape or improvised objects. Confirm the last printed label has been removed when the documented behavior requires it. Our peeler sensor checklist covers this behavior generically, but Epson’s routing diagrams take priority.
9. Worked example: switched from receipt roll to die-cut labels
A kitchen POS prints a receipt correctly but begins feeding multiple labels without text after a roll change. First document the original paper setup. Confirm the new die-cut roll is loaded in the correct direction and meets the printer’s requirements. Compare the printer’s stored paper layout, black-mark or gap characteristics and the POS template. If the model shows Epson’s layout error, follow the appropriate automatic or manual setup path for that particular paper type. Then test one known-good label outside the application.
This avoids treating every feed irregularity as a printhead failure or replacing a working Epson unit before the medium configuration has been checked.
10. When service is appropriate
If approved thermal media is correctly loaded, the printer’s own test has no image, and Epson’s documented maintenance doesn’t restore operation, collect the model, firmware, status sequence and exact test output for qualified support. Never operate with exposed moving components or clean a powered hot printhead. Distinguish a hardware no-image fault from missing POS data or unsupported paper.
Frequently asked questions
Why does an Epson TM-L90 feed labels but print nothing?
The thermal surface, data stream, configured print area and imaging system need separate checks. A manufacturer-supported self-test helps distinguish host software from printer output.
Can I switch between receipt paper and labels without changing settings?
Not always. Epson documents paper-layout configuration when the media type or size changes.
Does opening and closing the cover fix black-mark labels?
Not reliably for every stock. Epson warns that black-mark die-cut label paper may require manual layout settings in its utility.
Does calibration solve a blank printhead?
No. Media layout handles boundaries and feed position; it does not replace a functioning thermal printhead or valid print data.
Epson documentation
- Epson TM-L90 User’s Manual — paper handling and status
- Epson TM-L90 Technical Reference — paper layout and peeler
- Epson TM-L90 Technical Reference — black-mark specifications
Editorial scope: This guide uses Epson source documentation and does not claim a particular printer was physically tested. Check your exact variant and firmware before changing stored paper layout or service settings.
Independent general troubleshooting information for shipping labels and thermal printers. Model-specific button sequences, cleaning supplies and service instructions can differ; consult your manufacturer's official documentation. Never alter a carrier-generated barcode.