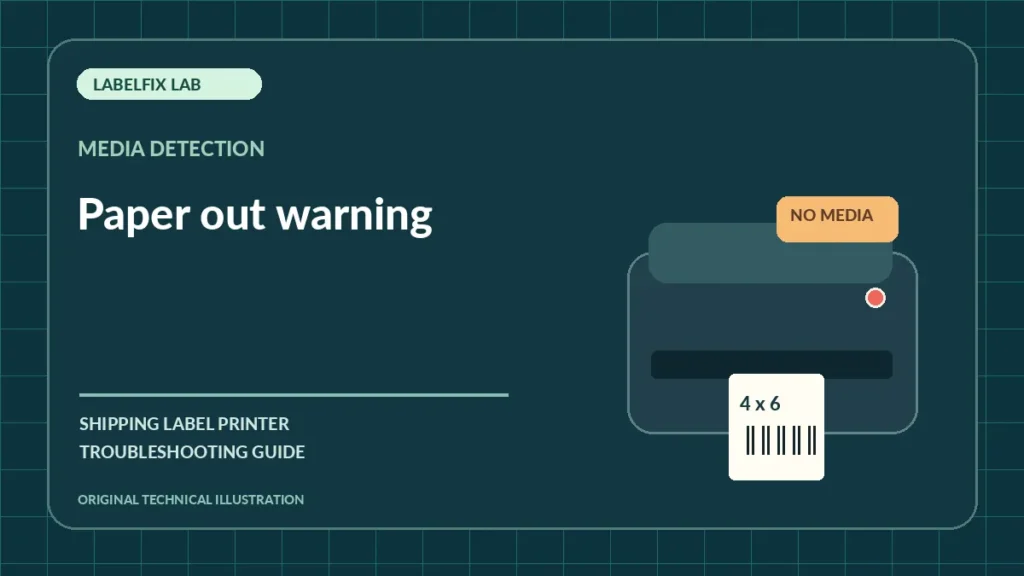
A Paper Out or No Media warning doesn’t always mean the roll is empty. A thermal label printer may have plenty of stock but fail to detect the next label boundary. The useful question is whether it sees the roll at all, or whether it sees the liner but cannot recognize the gaps or black marks. This guide isolates a false media warning without inventing a universal button sequence.
Find the symptom that matches your printer
Use the pattern of the fault to narrow down which setting or component to test. A similar-looking result does not prove the same underlying cause.
| Observed behavior | Most relevant first check |
|---|---|
| Warning appears immediately after fitting a new roll | Roll compatibility, correct loading and sensing mode |
| Warning appears after feeding several labels | Gap/black-mark detection or calibration |
| Only one batch of labels triggers it | Liner and stock quality, registration position |
| Stock physically jams before warning | Media path; solve the jam before sensor adjustments |
1. Check whether the roll is actually able to move
Confirm the cover and media-release mechanism are secured as described in the printer manual. Check that the roll rotates freely and that the backing liner is not folded under a guide. A device can show a media error when a jam prevents the next registration mark from reaching its sensor. If you see torn stickers or resistance, stop and use our paper jam guide rather than repeatedly pressing Feed.
2. Identify the roll’s sensing type
Die-cut labels commonly have a liner gap between stickers; other stock uses a black registration mark, and continuous stock has no regular gap to detect. Find which type you have by inspecting the roll and its supplier specifications. A printer configured to look for a black mark on gap stock may report no media even though material is moving. Only choose modes supported by the model.
3. Look at the sensor position and liner path
On printers with user-adjustable sensing positions, the optical sensor must align with the manufacturer’s specified registration area. Some labels have unusually narrow gaps, transparent sections or marks off-center. Follow the exact loading diagram rather than sliding the sensor at random. Never disassemble a closed sensor assembly or bend its optical components.
4. Test a known-good compatible roll
If the error began after switching suppliers, try a roll that previously worked and still meets the model’s media requirements. If the problem began specifically while installing a new roll and the printer will not advance it, see our new-roll feeding diagnostic before changing sensor settings. Keep printer settings unchanged during this comparison. If one roll works and the new one fails consistently, review the new media’s gap size, liner opacity, width and thickness. This doesn’t prove the new roll is faulty; it may simply be outside the supported range.
5. Run the documented media-calibration routine
Consult the official manual for your precise model and run its supported label-sensing calibration. Many printers advance several stickers during calibration, which can be normal. Do not copy a button sequence from a different printer; the same keys may trigger a factory reset. Our calibration guide explains the principle without giving unsafe model-agnostic keystrokes.
6. Check the configured page length after sensing works
When the device reliably finds each gap but the host job still raises a media warning, confirm the driver stock dimensions correspond to the installed roll. A nominal 4×6-inch page is 101.6 × 152.4 mm, whereas some rolls sold as approximately 100×150 mm are not exact matches. The PDF size checker reports the document size separately from the physical roll.
7. Inspect approved sensor-cleaning guidance
Dust, adhesive and torn liner fragments may obstruct accessible detection areas. Power down and cool the printer as directed, and use only approved cleaning tools. Avoid spraying solvents inside the housing or scraping optical windows. If you are unsure whether a sensor is user-accessible, stop and consult the manufacturer.
8. Separate printer-generated tests from host jobs
Try a documented internal test or single Feed operation once calibration is complete. If the printer detects stock correctly on its own but a shipping application triggers an error, focus on the driver’s media preset and the application print job. A working internal test does not guarantee the host-side configuration is correct.
9. Collect reproducible evidence before requesting service
Record the model, media type, roll measurements, sensor mode and when the warning appears. If two known-good approved rolls fail the same documented calibration, the sensor or mechanism may require model-specific service. Do not bypass an out-of-media interlock to force production printing.
How to decide what to try next
A false Paper Out warning is most useful when described by when it occurs: at power-on, only on a new roll, after several labels or only from one application. Those patterns separate incompatible media from sensing, calibration and host configuration. Keep the roll and original settings available while you test. If the symptom is actually continuous feeding without stopping, switch to our continuous-feeding diagnostic.
A Paper Out warning can mean the sensor cannot see the next label
A roll can be physically present while the printer still reports “Paper Out” because it cannot detect the expected gap, black mark or liner path. Separate actual absence of stock from failure to recognize the loaded stock.
| Observation | Diagnostic direction |
|---|---|
| Cover open or liner physically trapped | Resolve the physical condition using the documented loading or safe jam procedure. |
| Printer feeds the new roll but reports out-of-media at repeated positions | Compare the roll’s gap/black-mark pattern with the configured sensor type and physical pitch. |
| Old approved roll works, new roll triggers Paper Out | Check width, liner material, registration pattern and specified media compatibility. |
| Supported internal test works but only a PDF job causes an error | Inspect the selected driver stock and document page size; compare with the PDF checker. |
What to record before reporting a sensor fault
Note the exact printer model, indicator code, media construction, selected gap or black-mark mode, and whether a known-good compatible roll changes the outcome. Use the manufacturer’s calibration routine only with properly loaded stock. Do not assume a new optical sensor is needed before exhausting safe documented checks.
If the sensor can see labels but the roll still does not feed smoothly, confirm that the roll fits the printer holder. Use our 1-inch versus 3-inch label roll core guide to check core and outer-roll dimensions.
Frequently asked questions
Why does my thermal printer say Paper Out with a full roll?
The device may be unable to recognize the registration gap or mark, or the liner may not be traveling correctly. Check stock type, loading and model-specific calibration before replacing parts.
Can a new label brand cause a false Paper Out error?
Yes. Registration mark, liner, dimensions and coating differ between products. Compare with a known-good compatible roll to isolate the issue.
Should I factory-reset the printer?
Not as a first step. A reset may erase useful media, network and print-language settings and will not repair a physical jam or incompatible roll.
Editorial disclosure: This independently written guide describes model-agnostic troubleshooting, not a verified repair for every device. Use manufacturer instructions for buttons, service procedures, media compatibility, and electrical safety. We do not claim hands-on testing of the exact printer you own.
Independent general troubleshooting information for shipping labels and thermal printers. Model-specific button sequences, cleaning supplies and service instructions can differ; consult your manufacturer's official documentation. Never alter a carrier-generated barcode.