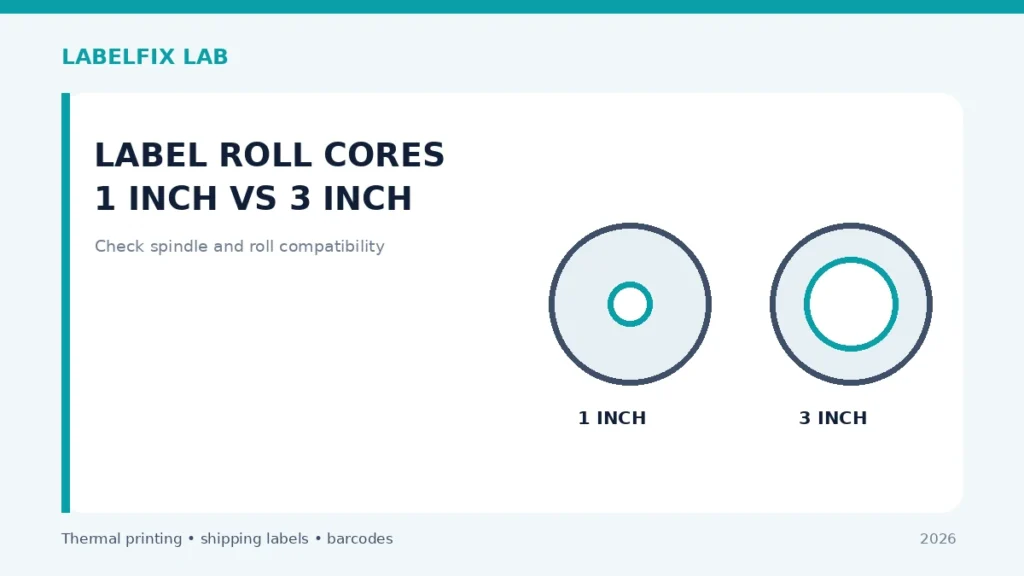
The cardboard or plastic cylinder inside a label roll is called its core. Sellers may list a 1-inch or 3-inch core while advertising the same 4×6 face size. These numbers describe different parts of the product. Buying the correct sticker dimensions but the wrong core can leave a desktop printer unable to load or feed the roll.
Use safely: Record the exact printer and stock model before changing configuration. Keep original settings, make one reversible change at a time, and use non-live test labels rather than a shipment batch.
Quick comparison: what you see
| Observation | Investigate first |
|---|---|
| Roll fits the label width but not the spindle | Core bore mismatch |
| Roll rotates freely but catches the housing | Outside diameter too large |
| Roll fits physically but drifts sideways | Guides, core seating or liner alignment |
| Printer reads Paper Out with correct roll installed | Sensor and media registration, not just core size |
How to diagnose it step by step
1. Identify which dimension the specification describes
Separate individual label width and height, roll outside diameter, core inner diameter and the liner’s registration gap. A ‘4×6, 1-inch core’ roll describes a sticker and its winding tube, not a complete compatibility guarantee.
2. Read the printer’s supported core size
Use the exact device manual, including any optional roll holder or external mount. Some machines support multiple core sizes with adapters; others require a specific spindle. Do not force a 3-inch core over a smaller holder by improvising spacers.
3. Measure the core’s inner bore accurately
The nominal core size normally refers to the inside opening but supplier tolerances and construction can vary. Measure an approved old roll if you have one, then compare the product datasheet. Do not confuse inner core diameter with the entire roll diameter.
4. Check the maximum outside roll diameter
A high-capacity roll with a compatible core may still be too large to close the lid. The printed label size does not determine how many stickers fit or how much room the wound roll takes. Verify the manufacturer’s external-roll accessory if you need larger capacity.
5. Examine how the printer supports the roll
Some units mount a spindle through the core; others support the roll in a cradle. The mounting mechanism affects which dimensions matter most. Confirm the approved loading path and do not operate a printer with the cover or media guide forced.
6. Verify roll width and liner path separately
A correct core does not prevent a wide liner from rubbing against the housing or a narrow liner from wandering. Match liner width and stock type with device limits. For lateral drift, see off-center printing.
7. Use a short feed test after fitting a new supplier’s roll
Print a few safe samples, watching for resistance, jerky rotation or unexpected error indicators. If the roller stalls only with the replacement stock, compare both roll geometry and material before assuming a defective motor.
8. Check whether fanfold stock is an option
If the printer supports an external feed route, compatible fanfold stock may suit users who need large supplies without an internal roll. See fanfold versus roll labels and confirm the approved hardware path.
What the checks tell you
Core diameter, roll outside diameter and label width are independent constraints. Match all three to the exact printer or approved holder; the familiar ‘4×6’ description only tells you the printed face size.
Production-ready verification
Use the vendor’s approved test procedure and an original, correctly sized sample. Confirm the media advances reliably and the final print preserves its barcode, clear margins, address and routing marks. If the manufacturer’s manual disagrees with a generic suggestion, follow that documented model-specific method. Never force feed rollers, bypass sensors or use unsuitable cleaning materials.
Worked example: a hypothetical diagnostic case
A purchaser orders a large carton of 4×6 labels advertised with a 3-inch core, only to find the roll cannot be secured by a compact desktop printer’s spindle. This is not a barcode-sizing or software problem. Compare the exact core bore with the printer’s supported spindle size and check the outer roll diameter against the case clearance. Another 4×6 roll with the correct core may still fail if the total wound diameter is too large to close the cover. Finally, verify liner width and gap design: fit in the compartment does not guarantee accurate media detection. A short feed test with an approved replacement roll provides the practical confirmation.
What not to conclude from one test
The phrase ‘4×6 compatible’ often describes the label face alone. Do not infer internal-roll compatibility from it, improvise a mounting spacer or force the cover closed around an oversized supply.
For an accountable troubleshooting record, note the exact model, source document or sample, current interface and settings, the test performed, and which symptom changed. Keep production tracking numbers and customer information private. This is an illustrative case, not a claim of first-hand testing.
Frequently asked questions
Can I use a 3-inch core in a 1-inch core printer?
Not unless the manufacturer supports that configuration with the appropriate holder or adapter.
Is roll diameter the same as core size?
No. The core is the inner winding tube; outside diameter measures the complete wound roll.
Do larger cores always contain more labels?
No. Capacity depends on outside diameter, liner thickness, core dimensions and winding.
Editorial disclosure: This is general, independent technical guidance. We do not claim hands-on testing of every printer variant. Refer to the exact model manual, consumables specification and our editorial verification policy.
Independent general troubleshooting information for shipping labels and thermal printers. Model-specific button sequences, cleaning supplies and service instructions can differ; consult your manufacturer's official documentation. Never alter a carrier-generated barcode.