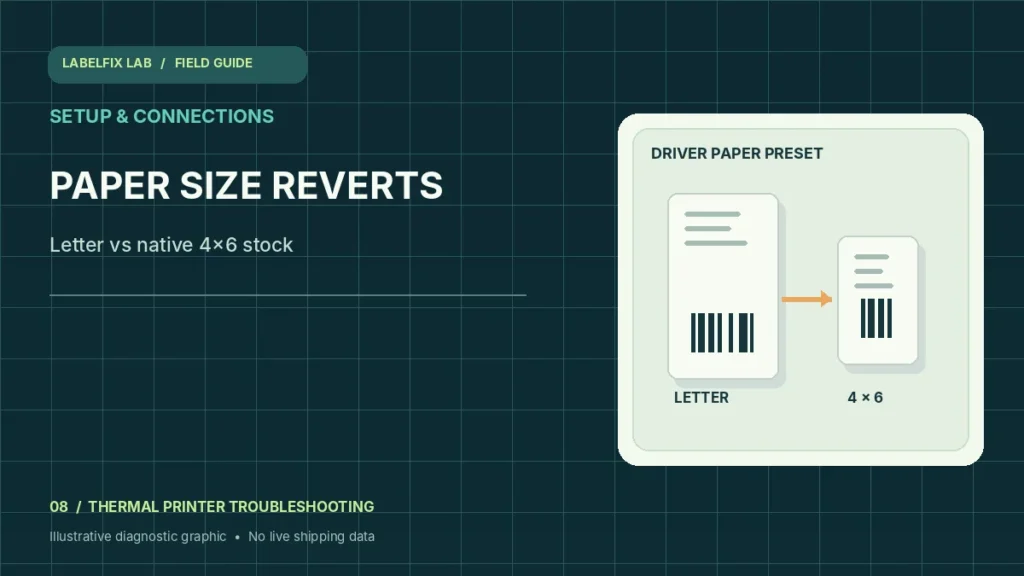
When a thermal label printer appears to switch back to US Letter, A4 or another default page size, the same 4×6 shipping file may look tiny, be clipped or produce extra pages. This is mainly a settings persistence issue: the application, driver and saved print queue may each remember a different paper size. Treat it separately from the physical roll or barcode quality.
Start with the observable symptom
These patterns narrow the troubleshooting path; they are not a guarantee of a specific cause. Record what actually happens instead of changing multiple settings together.
| What happens | Where to start |
|---|---|
| Only one app reverts to Letter | Application print preset or browser dialog |
| All apps use the wrong default size | Printer queue defaults or driver configuration |
| Correct 4×6 setting resets after reinstall | Driver or queue replacement |
| Actual PDF is Letter sized | Source export format, not just driver preference |
1. Confirm the PDF itself is really 4×6
Start with the original shipping file, not the screenshot of its preview. Our free PDF size checker reports the page dimensions and orientation. A Letter document won’t become a correct native 4×6 carrier label merely because a Windows driver says 4×6.
2. Identify which application changes the size
Check whether the setting stays correct when printing from a dedicated PDF viewer, but reverts when the shipping platform or browser opens its own print dialog. Application-level presets often override Windows defaults for that one job. Record both results rather than changing the OS globally.
3. Inspect the correct Windows print queue
Open the target printer’s settings and confirm the model and port. Duplicate queues may have different defaults even when they point to the same physical device. Do not delete every queue until you know which one is actively used by the shipping workflow.
4. Review Printing Preferences versus job-level settings
Depending on the Windows version and driver, the queue has persistent Printing Preferences and individual applications have their own print-job choices. Set the physical stock size in the driver supported by your manufacturer, then check whether the app overrides it.
5. Use the actual width and height of your media
A portrait 4×6 inch page measures 101.6 × 152.4 mm. Some roll products are marketed as approximately 100×150 mm instead; don’t claim they’re exactly identical. Select the actual supported stock and verify margins so the barcode’s clear zones aren’t clipped.
6. Save the preset using the vendor-supported workflow
Some printer drivers have custom stock or named presets. Use the official configuration utility where available and note whether the preference is per-user, per-queue or device-wide. Avoid modifying registry keys or unofficial driver packages as a first step.
7. Compare one job after restarting only the application
Close and reopen the shipping application or PDF viewer, then inspect the print dialog before sending a new sample. If the wrong setting appears only after this step, note the exact application and version. Changing multiple driver properties at once makes the origin harder to isolate.
8. Escalate when a driver update erases the preset
If the problem began after a driver reinstall, Windows update or workstation replacement, verify the current printer model and official driver version. Document the previously working stock profile and one repeatable failure before seeking vendor support.
Interpret the outcome before changing more settings
If the print result is off-center but the size stays correct, see horizontal alignment troubleshooting. For a file that splits across two sheets, see two-page printing. Only one factor should be changed per test.
Avoid these common mistakes
- Using Fit to Page to hide a persistent wrong-stock preset
- Confusing 100×150 mm with an exactly equivalent 4×6 inch dimension
- Changing Windows settings without checking app-level overrides
Frequently asked questions
Why does my printer show Letter after I select 4×6?
The print application may be overriding the driver, or you may be editing a different printer queue or a job-only setting. Compare each layer.
Is 100×150 mm exactly the same as 4×6 inches?
No. Four by six inches equals 101.6 by 152.4 mm. The exact stock size and acceptable margins depend on your workflow.
Should I use borderless printing?
Only where supported and appropriate. Many thermal printers have manufacturer-defined printable areas, and forced borderless options can affect barcode positioning.
Editorial note: This independent guide provides general troubleshooting, not guaranteed fixes for every model or carrier. Device-specific calibration and safety steps must follow the official printer manual. Label dimensions and software options vary by shipping service.
Independent general troubleshooting information for shipping labels and thermal printers. Model-specific button sequences, cleaning supplies and service instructions can differ; consult your manufacturer's official documentation. Never alter a carrier-generated barcode.