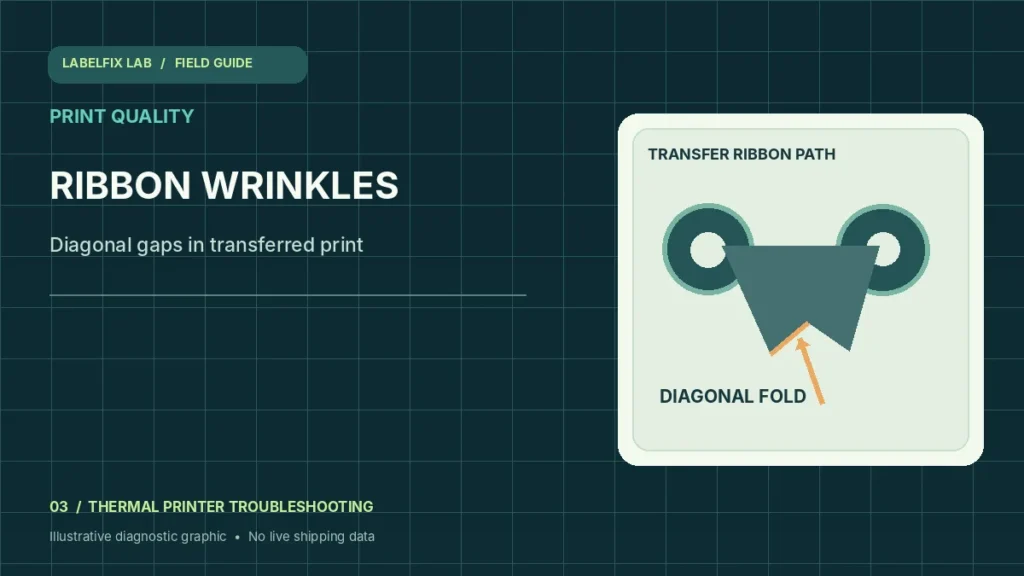
Ribbon wrinkles on a thermal-transfer label printer can create diagonal pale bands, uneven print transfer or premature ribbon damage. This does not apply to direct-thermal printers, which print on heat-sensitive stock without a transfer ribbon. Before adjusting mechanisms, confirm your printer actually uses a ribbon and identify where the wrinkle begins.
Identify the pattern before changing settings
The following observations help you choose a starting check, not a final diagnosis. Some symptoms have more than one possible cause.
| What you see | Check first |
|---|---|
| Diagonal pale streaks across the label | Ribbon folding or wrinkling through print path |
| Ribbon creases before the printhead | Supply-spindle loading and media alignment |
| Wrinkles appear only with certain stock | Ribbon/media width or compatibility |
| Ribbon tearing or sticking to label | Incorrect material pairing, thermal settings, service |
1. Confirm that the ribbon belongs in this printer mode
Check the model manual and media specification. Some devices support direct thermal and thermal transfer, with separate mode settings. If you’re using direct-thermal stock without ribbon, ribbon tension advice is irrelevant. Our technology comparison explains this distinction.
2. Power down before tracing the ribbon route
Use the manufacturer’s exact ribbon-loading diagram. Confirm which spindle supplies ribbon and which takes it up. A reversed or twisted ribbon may bunch at guides. Do not access moving rollers or open powered printer covers beyond the approved media compartment.
3. Inspect whether ribbon and label widths are compatible
Compare the ribbon width with the supported media width and manufacturer guidance. An unsuitable ribbon width or unsupported face-stock pairing can increase edge instability or poor transfer. Wider is not always better, and the correct overlap varies by device and stock.
4. Check both rolls sit squarely on their supports
Reload the label roll and ribbon without excessive lateral pressure. Unevenly seated cores or badly aligned guides can cause skew before the ribbon reaches the print line. Do not bend guides or force spindles; a damaged core or unsupported adapter may need replacement.
5. Observe whether the wrinkle begins on the supply or take-up side
With the device stopped and cool, inspect the used ribbon section if accessible. Creases visible before printing suggest loading or supply issues. Wrinkles only on take-up can relate to winding or material behavior. Use the manufacturer’s service procedures for tension-related adjustment rather than arbitrary screws.
6. Verify darkness, speed and approved ribbon formulation
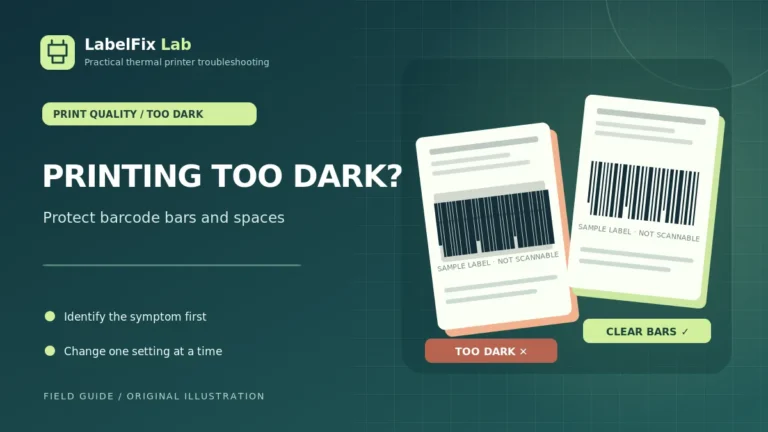
Excessive print energy or unsuitable ribbon-to-face-stock pairing may increase sticking or poor transfer. Record the initial settings and test one small manufacturer-approved change at a time. Increasing heat generally will not solve a folded ribbon and may create another problem.
7. Compare a built-in test with the shipping document
Run the correct printer test using the same material. If the identical diagonal gap appears across unrelated test patterns, it’s less likely to originate in one PDF. If only one artwork has a diagonal mark, inspect the original file and driver rendering.
8. Stop if the ribbon tears or the wrinkle repeats
Continued printing can waste ribbon and labels or cause jams. Document the ribbon grade, stock width, full model and recurring pattern, then contact the manufacturer if correct loading does not resolve it. Never bypass safety covers or force take-up tension.
How to interpret your results
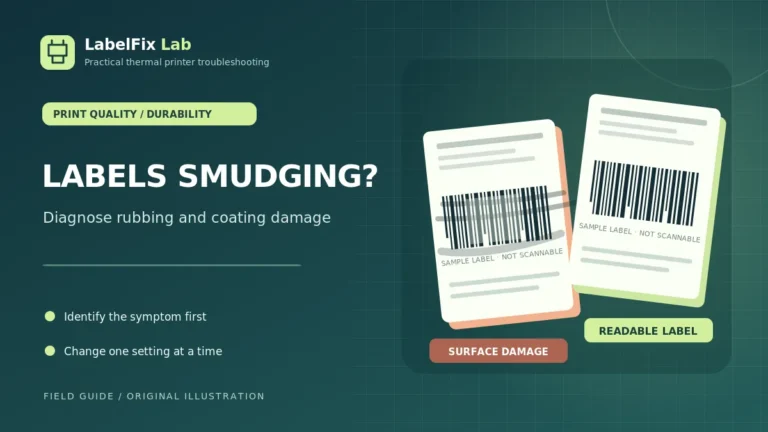
A repeatable straight white stripe may have another cause than a diagonal ribbon crease. Compare our lines and streaks guide. If the ink-like image rubs off after printing, media durability and ribbon chemistry deserve attention in the smudging guide.
Common mistakes to avoid
- Trying ribbon fixes on a direct-thermal printer without a transfer ribbon
- Tightening unmarked tension screws without model-specific documentation
- Continuing to print when the ribbon is visibly tearing
Frequently asked questions
Can a thermal-transfer ribbon wrinkle if installed incorrectly?
Yes, an incorrect path or alignment can create uneven movement. Reload according to the exact printer diagram before considering mechanical changes.
Does wider ribbon prevent wrinkles?
Not necessarily. Use a ribbon width and grade compatible with the printer and media according to the manufacturer.
Should I increase darkness to remove diagonal gaps?
No automatic fix exists. A physical ribbon crease must be corrected at its source; unsupported heat increases can worsen print quality.
Editorial note: This independent troubleshooting guide explains broadly applicable checks. Printer hardware, supported media, and carrier acceptance requirements vary by model. Confirm model-specific settings and safety steps with the manufacturer’s current documentation. We do not claim hands-on testing of every printer.
Independent general troubleshooting information for shipping labels and thermal printers. Model-specific button sequences, cleaning supplies and service instructions can differ; consult your manufacturer's official documentation. Never alter a carrier-generated barcode.