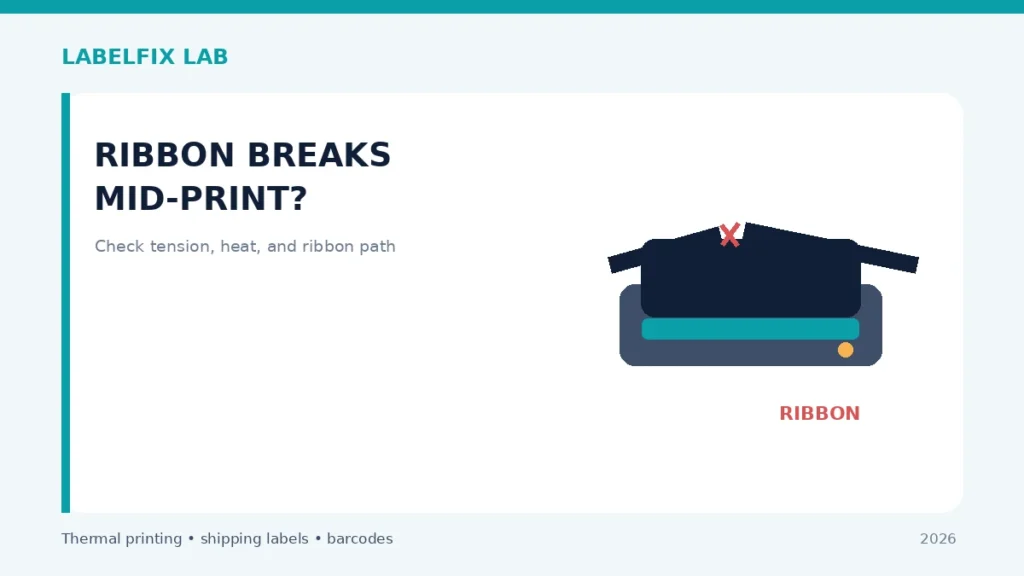
A thermal-transfer ribbon that snaps during printing can interrupt labels and contaminate the print path. The cause may be a poor material match, incorrect winding route, excessive tension or unsupported print conditions. This is different from ribbon wrinkling, which may cause diagonal blank zones without fully breaking the film. Stop the job before trying to join or pull damaged ribbon through moving parts.
Use safely: Record the exact printer and stock model before changing configuration. Keep original settings, make one reversible change at a time, and use non-live test labels rather than a shipment batch.
Quick comparison: what you see
| Observation | Investigate first |
|---|---|
| Ribbon tears immediately after replacement | Routing, core seating or tension |
| Ribbon breaks during long dense print area | Media adhesion or thermal/pressure conditions |
| Ribbon folds diagonally before tearing | Wrinkle and tracking path problem |
| Only one ribbon grade breaks repeatedly | Ribbon compatibility, width or coating match |
How to diagnose it step by step
1. Stop the current job and secure the damaged roll
Pause the queue and use the manufacturer’s shutdown procedure before opening the accessible cover. Record where the break occurred. Do not reach into powered winding components or touch a hot printhead. Keep detached ribbon fragments away from rollers when clearing them.
2. Verify the selected print method
Direct-thermal printers do not need a transfer ribbon. On dual-mode machines, ensure transfer printing is the intended method for the loaded stock. A wrong media/mode combination can cause unexpected print quality or transport behavior.
3. Compare the exact ribbon and face stock specifications
Resin, wax/resin and wax-type combinations behave differently depending on substrate, but no one grade suits every label. Use the device manufacturer’s ribbon guidance and media supplier’s compatibility sheet. Check widths, cores and winding directions supported by your machine.
4. Check the full documented supply and take-up path
Incorrect threading can twist the film, stop take-up rotation or put the coating toward the wrong surface. Compare the manufacturer’s loading diagram before altering tension. Do not copy a ribbon routing procedure from another model.
5. Inspect for a preceding wrinkle or skew
A diagonal crease near the print line can concentrate stress and tear. Run a supported non-live test and observe the accessible ribbon path only with guards in place. See ribbon wrinkling diagnosis when folded sections appear before a break.
6. Avoid blindly increasing thermal energy
Very high darkness may worsen adhesion or stress with certain media/ribbons. Record the current settings and use only manufacturer-supported adjustments, one at a time. A break near dense graphics does not prove an overheated printhead.
7. Separate take-up failure from material failure
If the supply roll advances but the used film does not wind correctly, the issue may involve take-up attachment or the approved drive path. Never tighten internal screws or drive components without service guidance; describe the symptom precisely to support.
8. Confirm a successful full-label test before using output
After approved reload or maintenance, print a short test and inspect the full ribbon path and final image. A torn ribbon may leave blank bands through a barcode or address; reprint any compromised carrier label from its official source.
What the checks tell you
A ribbon that repeatedly breaks with only one supply grade suggests compatibility or handling needs investigation. A ribbon that tears with every approved supply after correct loading may require model-specific mechanical service.
Production-ready verification
Use the vendor’s approved test procedure and an original, correctly sized sample. Confirm the media advances reliably and the final print preserves its barcode, clear margins, address and routing marks. If the manufacturer’s manual disagrees with a generic suggestion, follow that documented model-specific method. Never force feed rollers, bypass sensors or use unsuitable cleaning materials.
Worked example: a hypothetical diagnostic case
Imagine a transfer printer producing a pale diagonal streak and then snapping its ribbon at the same area. The operator recently changed to a different ribbon width. A useful investigation begins with a safe shutdown and visual comparison of the manufacturer’s ribbon route, supported width and winding direction. If the crease appears before the print line, loading or take-up alignment deserves attention. If it appears only under dense printed graphics, compatible media and supported energy settings become more relevant. Test a short manufacturer-approved sample with a known-compatible combination rather than tightening undocumented screws or joining the film with tape.
What not to conclude from one test
A torn ribbon is not evidence that the thermal printhead must be replaced. Investigate compatible supplies and the documented transport path first, and stop if repair would require exposing powered or hot components.
Keep an accurate test record with the model, interface, source file, material and original settings, then document one controlled change and its physical outcome. Avoid putting customer identifiers in public screenshots. This is an illustrative scenario, not a claim of direct testing of a particular product.
Frequently asked questions
Can I tape a torn thermal transfer ribbon back together?
Follow the manufacturer’s specific procedure. Improvised repairs can contaminate or damage the print path.
Is the highest darkness setting safer for ribbon?
No. Use settings recommended for the specific ribbon and label stock.
Does a crease always mean the ribbon will break?
Not always, but creases can indicate tracking problems and affect transfer quality.
Editorial disclosure: This is general, independent technical guidance. We do not claim hands-on testing of every printer variant. Refer to the exact model manual, consumables specification and our editorial verification policy.
Independent general troubleshooting information for shipping labels and thermal printers. Model-specific button sequences, cleaning supplies and service instructions can differ; consult your manufacturer's official documentation. Never alter a carrier-generated barcode.