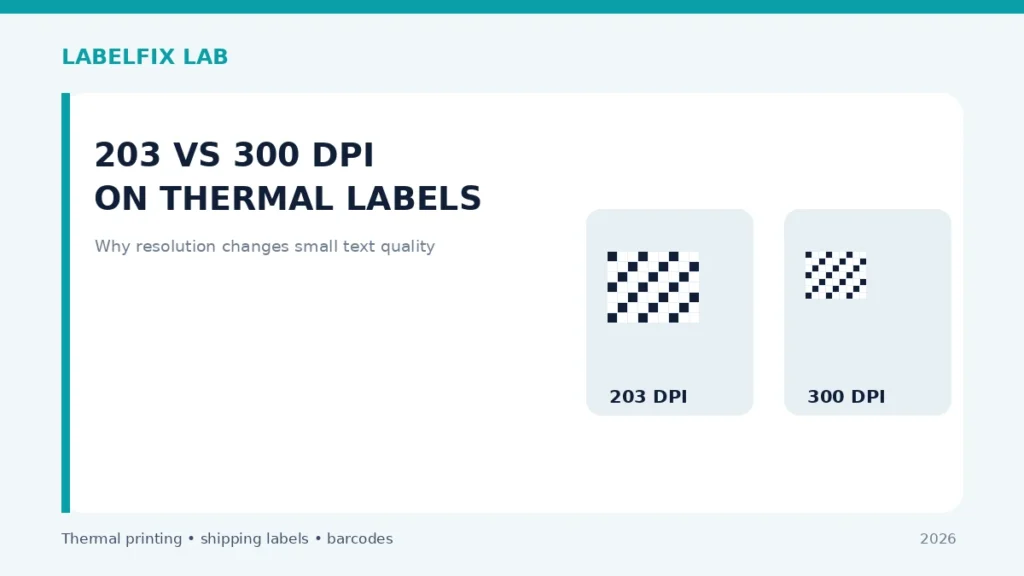
A printer rated at 300 dots per inch places more addressable dots within an inch than a 203 DPI printer, but that does not automatically mean a shipping label from one device will scan and the other will not. Source artwork, barcode geometry, stock and driver scaling matter too. The useful decision is whether your actual labels and workflow benefit from additional resolution.
Use safely: Record the exact printer and stock model before changing configuration. Keep original settings, make one reversible change at a time, and use non-live test labels rather than a shipment batch.
Quick comparison: what you see
| Observation | Investigate first |
|---|---|
| Standard 4×6 carrier label with medium-size bars | Evaluate supported print quality before upgrading |
| Very small text or dense two-dimensional symbol | Higher resolution may improve detail when all other elements support it |
| One low-resolution screenshot looks blocky on both devices | Original artwork, not nominal printer DPI, is the limitation |
| 300 DPI printer produces wrong size label | Driver resolution or stock preset may be misconfigured |
How to diagnose it step by step
1. Understand the difference without overpromising results
DPI describes nominal dots printed per linear inch. At the same physical size, a 300 DPI device can place more pixels across the surface than a 203 DPI model. It does not automatically increase barcode readability when the print is too dark, stretched or based on a low-resolution screenshot.
2. Compare the original file at native dimensions
Open an unmodified carrier PDF and confirm whether barcode lines remain distinct at high zoom. Prefer the official PDF export, not a screenshot pasted into a word processor. A page of 4×6 inches means 101.6 × 152.4 mm regardless of either printer’s resolution.
3. Check the barcode’s intended physical dimensions
Bars, modules and quiet zones must retain the size and clear area specified by the carrier and barcode standard. Arbitrary resizing to ‘add pixels’ can cause the opposite of the intended effect. For a specific failed symbol, see barcode scan troubleshooting.
4. Do not compare two printers with different stock
Use approved rolls of comparable coating and dimensions and matched, manufacturer-supported darkness/speed settings. A poor roll or incompatible ribbon can make the higher-resolution sample worse. Record the media and print method before judging a device upgrade.
5. Check the official driver and graphic mode
Some printer families support model-specific languages or resolutions. A 300 DPI queue or command stream incorrectly used for another variant can change the output’s size and placement. Use official software for the exact model rather than copying another device’s print configuration.
6. Test the smallest required text, not only the barcode
For tiny service markings or compact labels, print a permitted non-live sample and inspect human-readable address lines and small characters. Compare actual legibility at the intended viewing distance, not merely the appearance of a magnified photo.
7. Consider speed, cost and the complete workflow
Resolution can affect processing needs and available model options, but no single universal speed penalty applies. Read the manufacturer’s duty-cycle and speed specifications, supported interfaces, stock sizes and service requirements before buying on DPI alone.
8. Prefer a documented successful sample to a marketing claim
Print the same carrier-generated sample at the intended physical scale on each supported device and inspect the full label. If you need formal barcode grading, follow the carrier’s acceptance procedure or an appropriate verification standard, not a phone-camera comparison.
What the checks tell you
203 DPI may be adequate for many ordinary shipping labels when the printer and source are suitable. Higher resolution can be worthwhile for genuinely fine detail, but only a compliant sample under your actual use conditions supports a purchase decision.
Production-ready verification
Use the vendor’s approved test procedure and an original, correctly sized sample. Confirm the media advances reliably and the final print preserves its barcode, clear margins, address and routing marks. If the manufacturer’s manual disagrees with a generic suggestion, follow that documented model-specific method. Never force feed rollers, bypass sensors or use unsuitable cleaning materials.
Worked example: a hypothetical diagnostic case
Consider a shipping desk that uses a supported 203 DPI printer successfully for large 4×6 labels but struggles with tiny service text on a smaller approved format. Before buying 300 DPI hardware, compare the original PDF, the actual physical print and whether the driver resizes the page. If the input is a blurry screenshot, upgrading resolution will not restore lost source detail. If the document is sharp, a controlled manufacturer-supported 300 DPI sample may show an advantage in fine characters, provided both printers use compatible stock. Test the carrier barcode and quiet zones at the intended physical scale. Do not mistake a magnified screen preview for better printed geometry.
What not to conclude from one test
Resolution is one purchasing variable, not an independent barcode pass rate. The speed, stock, supported interfaces, device language and actual document sizes also determine whether a higher-DPI printer is suitable.
For an accountable troubleshooting record, note the exact model, source document or sample, current interface and settings, the test performed, and which symptom changed. Keep production tracking numbers and customer information private. This is an illustrative case, not a claim of first-hand testing.
Frequently asked questions
Is 300 DPI always better for shipping barcodes?
It supplies more addressable dots, but print quality still depends on original geometry, scaling, contrast and media.
Can software turn a 203 DPI printer into 300 DPI?
No. A printer cannot physically exceed its hardware print resolution merely through a software setting.
Does the 4×6 page size change at 300 DPI?
No. The physical label remains 4×6 inches; the potential dot count differs.
Editorial disclosure: This is general, independent technical guidance. We do not claim hands-on testing of every printer variant. Refer to the exact model manual, consumables specification and our editorial verification policy.
Independent general troubleshooting information for shipping labels and thermal printers. Model-specific button sequences, cleaning supplies and service instructions can differ; consult your manufacturer's official documentation. Never alter a carrier-generated barcode.