Quick diagnosis: If your Zebra ZD421 is new, has stopped printing, or is feeding labels incorrectly, work through four separate layers: (1) the exact printer variant and its supplies, (2) media detection and feed, (3) a device-generated test, and (4) the computer or label application’s print job. A printer that cannot produce a visible manufacturer-supported internal test label requires a different investigation from one that prints its test perfectly but refuses a shipping PDF.
The ZD421 is a model family, not a guarantee that every device has identical print technology, connectivity, configuration or accessories. Depending on the full variant, supported features and media configurations differ. This guide avoids undocumented button combinations and is intended to complement—not replace—the official instructions for your specific printer and firmware.
Zebra ZD421 troubleshooting by symptom
| What you observe | Suspect layer | Controlled first test |
|---|---|---|
| Printer is powered but not visible to the computer | Connection, OS recognition, port, driver | Determine whether the device itself is ready before adding a queue |
| Media feeds, but every printed label is blank | Stock coating, print method or application data | Compare documented internal diagnostic with a host print |
| Labels skip or stop midway between stickers | Gap/mark mode, sensing, label pitch, guides | Inspect media path and supported calibration procedure |
| Printer test works; shipping PDF is tiny | Source page geometry or host scaling | Read PDF page size; compare driver stock and 100% printing |
| Output is faint or streaked | Compatible stock, energy, speed, head contact or maintenance | Compare a known-good roll and vendor-supported quality test |
| Printer prints commands or unexpected characters | Job format and supported printer language | Compare the application output path with the unit’s configuration |
Step 1: Identify your actual ZD421 configuration
Read the full product identifier on the physical device and note the connection hardware installed. Do not assume that seeing “ZD421” in a marketplace listing establishes whether your machine uses direct thermal, thermal transfer, a particular ribbon cartridge arrangement, a wired network interface or a wireless accessory. Check the manufacturer’s current documentation for your exact configuration.
Record the operating system, driver or print service, label-design application, loaded label material, connection type and recent changes. A device that never worked on this computer is a different case from one that stopped immediately after a stock or software change. Save any displayed warning or diagnostic state before resetting settings.
Step 2: Confirm stock and print method before changing darkness
Direct-thermal printing needs suitable heat-sensitive labels and does not use conventional ink. Thermal-transfer printing needs compatible stock and a supported ribbon path. A blank label can result from loading the wrong media, positioning the non-printable surface toward the head, or using a method incompatible with the actual device. The exact loading and ribbon procedures depend on the hardware variant.
Inspect the vendor’s supply documentation and the roll packaging. Determine label width, length, backing orientation, type of sensing mark or gap, and whether a ribbon is required. If a new roll triggered the failure, substitute a previously successful, still-compatible roll while keeping the rest of the configuration unchanged. That comparison can identify a supply mismatch more reliably than reinstalling the computer driver.
Step 3: Load labels so the printer can detect their boundaries
Check the illustrated media path in the manual for your variant. The stock should move smoothly, with guides correctly positioned and the liner passing the specified sensing point. Some workflows use die-cut gap labels, others black-mark or continuous media. The printer must know which form is installed. A wrong sensor mode may advance several stickers or stop at apparently random positions even if the printhead works.
If the device consistently stops at the wrong boundary, the relevant fix may be a media setting or manufacturer-documented calibration. Avoid random factory resets: they can remove working network, job-language or calibration configuration. Calibration may deliberately feed labels while detecting the pitch; those initial feeds are not proof of a defect.
Step 4: Use a supported internal printer test
Consult the official ZD421 documentation for your exact control layout and firmware to find an appropriate configuration or print-quality diagnostic. Do not apply a “hold these buttons for five seconds” instruction written for another Zebra generation. A visible device-generated print is useful evidence that the mechanical printing path can form an image without the computer’s shipping software.
If the internal test is blank: focus on media, print method, ribbon when required, documented device status, head contact and safe maintenance. If it prints clearly: inspect the selected host queue, data format, application or PDF page geometry. A new Windows driver is not the first remedy for a hardware-side blank internal test.
Step 5: Connect the printer through a supported driver or workflow
Choose a setup route supported for the full model and your OS. A USB connection can establish device detection, but successful hardware detection is not identical to having a working print queue. A network-equipped printer may show an online connection even when the computer is sending jobs to an old address. Record the actual connection before changing ports, and avoid simultaneously altering USB, network, firmware and driver settings.
Use the manufacturer’s official driver or documented print integration where available. Avoid anonymous “universal label driver” sites, unexpected password requests or third-party tools that promise to unlock postage features. Some applications send PDF graphics through the operating-system queue; others send printer-language commands directly. Those data routes require compatible configuration and are not interchangeable.
Step 6: Match label dimensions across all three places
Compare the actual roll, the driver/media preset and the source document. A 4 × 6-inch shipping label is exactly 101.6 × 152.4 mm, or 288 × 432 PDF points. A roll advertised as 100 × 150 mm is similar but not mathematically identical. Check the exact ZD421 configuration’s maximum printable width; supported media width may exceed the area the head can image.
If a shipping PDF is native 4 × 6 and the stock matches, Actual Size/100% is a sensible first print setting. If the source PDF is Letter-sized with a smaller label on its page, using Fit may produce a tiny barcode, while printing Letter at 100% on 4 × 6 may crop it. Our Zebra printer label size guide covers geometry and resolution in more detail.
Step 7: Separate print-job failures from printer failures
If the internal test is readable, send one harmless text-only label through a vendor-supported host workflow. Then compare it with a 4 × 6 SAMPLE PDF and finally the shipping application’s output. Change only one variable between tests. If the sample prints but the shipping label does not, the source file or its application may be the issue.
A print queue that shows “completed” only proves the host handed a job to its configured print path. It does not prove that the ZD421 produced a correct physical label. Observe whether the media moved, whether an error displayed, and whether the same source works in another trusted application.
Step 8: Diagnose blank output, pale printing and ribbons separately
For completely blank labels, confirm the media surface and print method before changing heat settings. For pale but visible output, compare compatible materials, the approved darkness/energy baseline and print speed. For thermal-transfer variants, inspect ribbon presence, compatibility and routing strictly according to the variant’s manual. Do not assume a ribbon warning applies to a direct-thermal configuration.
If there are repeated unprinted vertical bands, examine the manufacturer-approved cleaning and maintenance procedure when the device is powered off and cool. Adhesive residue or worn components can affect image quality, but a printhead should not be replaced simply because one PDF was blank. Escalate persistent device-generated test failures with reproducible details.
Step 9: What a media-calibration failure looks like
A feed problem is different from a blank-image problem. If the device advances multiple labels even with no actual print content, inspect the type and repeat interval of the stock. If the boundary is correct but the image starts too low or too far right, check origin, alignment and physical printable width. When the wrong PDF dimensions are sent, recalibration will not make an 8.5 × 11 page become a true 4 × 6 document.
Before any calibration change, record the current media mode, print length and other user-adjustable settings. Use only the supported procedure for this exact printer configuration. A routine that feeds a few samples while learning the gap is not the same as an uncontrolled continuous feed fault.
Practical example A: the ZD421 works in its test but not in shipping software
The device prints a clean manufacturer-supported diagnostic. A text-only label from a supported application also prints. However, a shipping app delivers a blank or strangely sized sticker. Those observations favor the source format, selected queue, job language or PDF scaling path over a damaged printhead. Reopen the original shipping document, check its page size and compare with the driver preset before trying another print.
Practical example B: the printer skips labels after a new roll
Suppose the printer fed normally yesterday, but a new die-cut roll causes inconsistent stopping positions. Keep the same device and host settings while comparing the original roll’s dimensions, liner, gaps and sensing type with the replacement. If the materials are compatible, use the documented media configuration and calibration process. Don’t increase print darkness to solve a sensor registration issue.
Practical example C: the 4 × 6 test prints but barcodes fail scanning
The printer can produce a full page, but barcodes scan poorly. Verify whether the label was proportionally reduced, whether its quiet zones are clipped and whether the printhead output is too faint or smeared. A higher DPI rating by itself does not guarantee that a malformed or wrongly scaled shipping barcode will become valid. Use the original authorized label and the required operational verification.
What to collect before contacting manufacturer support
- The complete printer model/variant and firmware or configuration information if available.
- The kind of stock and ribbon, if applicable, including actual dimensions and supplier details.
- A description of one internal device test and one host-generated sample result.
- The OS, driver/label app, selected queue and connection type.
- Exact status/error wording and whether a change preceded the fault.
- Photos that omit customer names, tracking codes and internal passwords.
Frequently asked questions
Why is my Zebra ZD421 printing blank labels?
Compare a documented internal diagnostic to the host job. A blank internal test directs attention toward media, print method or physical imaging; a readable test with blank application output points more toward job format, selected queue or software.
Do all ZD421 printers use a ribbon?
No single supply rule should be assumed for every ZD421 variant. Identify the exact hardware and supported print method in its official documentation before choosing stock or ribbon.
What should I do if the ZD421 skips one or more stickers?
Confirm stock type, gap/mark registration, paper pitch and media routing. Use only the manufacturer-supported calibration process when sensing is the actual problem.
Can the ZD421 print a 4 × 6 shipping label?
Compatibility depends on the printer variant’s supported media and printable area, appropriate stock and a correctly formatted job. A 4 × 6 document is 101.6 × 152.4 mm, but you must still check the specific device’s specifications.
Should I reinstall the driver before testing the printer?
Not necessarily. A documented internal self-test can quickly distinguish whether the device is forming an image independently of the host. Reinstalling a driver does not correct incompatible media or an unprinted internal test.
Related LabelFix Lab guides
- Zebra printer label sizes and printable width
- Zebra ZD420 driver diagnostics: different model, related host checks
- Zebra ZT230 skipping labels: industrial model comparison
- Thermal media calibration: gap, mark and pitch basics
- General blank-label diagnosis
- 203 vs 300 DPI and barcode print quality
- Download a non-postage 4 × 6 test label PDF
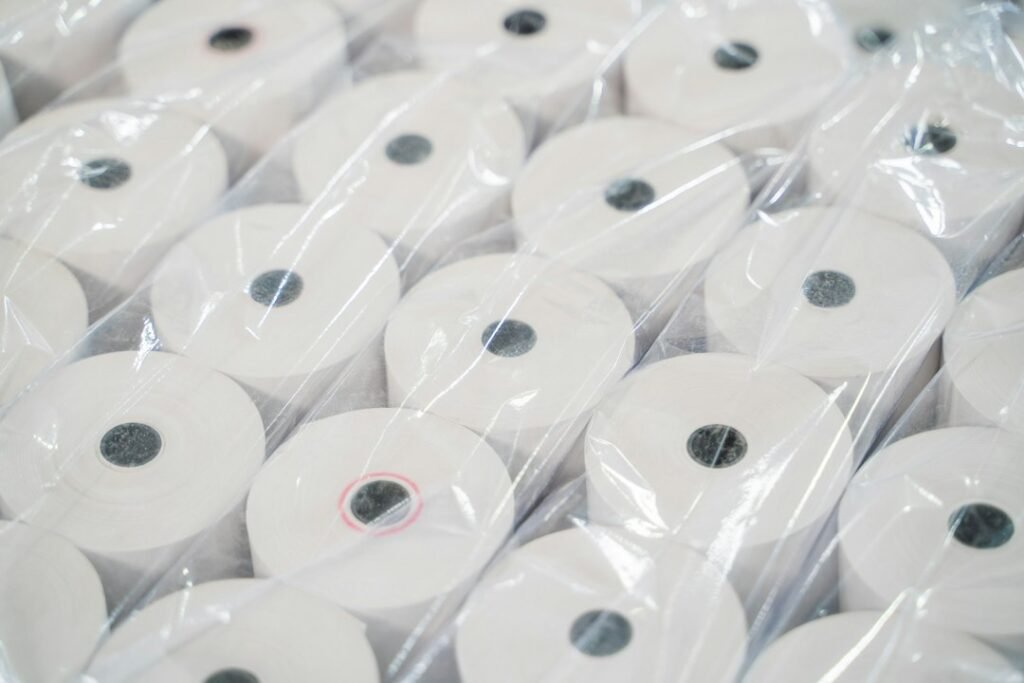
Featured image: Panda Paper Roll / Unsplash. Illustrative consumables photo; not a photograph of a Zebra ZD421 printer.
Editorial note: General diagnostic framework only. No ZD421 hardware variant or official control-panel procedure was physically tested for this article. Printer options, firmware and OS compatibility must be verified for the exact serial/model configuration using official Zebra documentation.
Independent general troubleshooting information for shipping labels and thermal printers. Model-specific button sequences, cleaning supplies and service instructions can differ; consult your manufacturer's official documentation. Never alter a carrier-generated barcode.