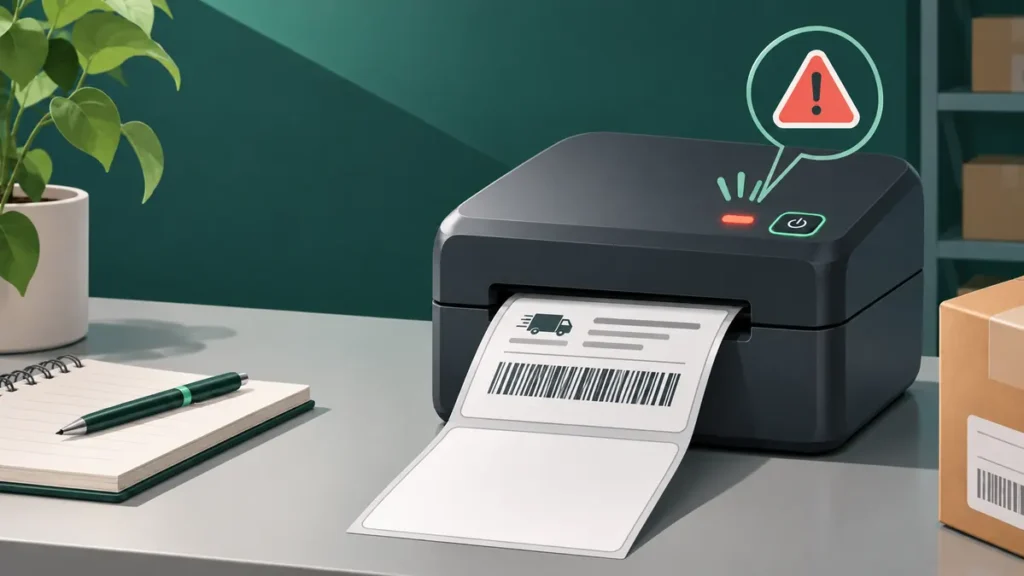
An extra blank label after every finished print job is not exactly the same problem as a printer that skips labels during a long batch. If your first shipping label is correct and the printer advances one unused sticker afterward, the cause may be page length, an end-of-job feed setting, sensor calibration or an unexpected extra page sent by the application.
Identify what “extra blank label” means
Watch the printer during one print job. Does it print a complete label, advance one additional empty sticker, and stop? Or does it print on every other sticker in a continuous batch? Those patterns can look similar from a pile of labels, but they do not necessarily have the same cause.
If labels are skipped throughout the job, see thermal printer skipping labels. If the extra blank appears only when a print job ends, continue with the checks here.
1. Verify that the file contains a single page
Open the original shipping PDF in a dedicated viewer and check its page counter. Some shipping downloads contain a label plus a receipt or instructions. Even a visually empty second PDF page can be sent to the printer if “Print all pages” is selected. Inspect the source rather than silently deleting pages.
When the PDF is one page but two pieces of stock come out, check the driver and feed behavior below. For a separate guide to a PDF that genuinely prints across two sheets, read 4×6 label printing on two pages.
2. Match the driver length to the actual stock
Check the printable label dimensions on the roll. A typical portrait shipping label is 4 inches wide and 6 inches long (101.6 × 152.4 mm). The label’s repeat distance and backing gap may differ from the printable area. In the printer driver, ensure the selected media preset represents the stock you actually loaded.
Look for an unwanted Letter, A4 or unrelated custom-page preset. If the printer believes the page is longer than one label, it may feed extra material to complete the requested page length. The exact result depends on the device’s firmware and sensing method.
3. Inspect end-of-job feed, tear-off and cutter settings
Many label printers move stock after a print to position the last label for tearing, peeling or cutting. That positioning movement is not always a fault. Some drivers and utilities expose settings such as tear-off position, backfeed, present position, peel mode or cutter mode. Names and behavior vary substantially by manufacturer.
Record the existing setting before changing anything. If your device supports a user-configurable output mode, choose the mode appropriate to your loaded accessories and label workflow. Do not disable cutters, peelers or backfeed mechanisms without consulting the printer documentation.
4. Test with a built-in printer-generated label
Use the manufacturer’s documented self-test or configuration label. A printer-generated output bypasses many application and PDF settings. Compare the number of labels fed and where the media stops with the original shipping print.
| Test outcome | Where to look first |
|---|---|
| Self-test and PDF both feed extra stock | Media sensing, calibrated repeat length, tear-off mode |
| Only the PDF feeds an extra label | Document page count, driver size, print mode |
| Only one app has the issue | App-specific printing or added page breaks |
| Only a new roll has the issue | Gap/mark layout and roll compatibility |
5. Match the sensor mode to the label backing
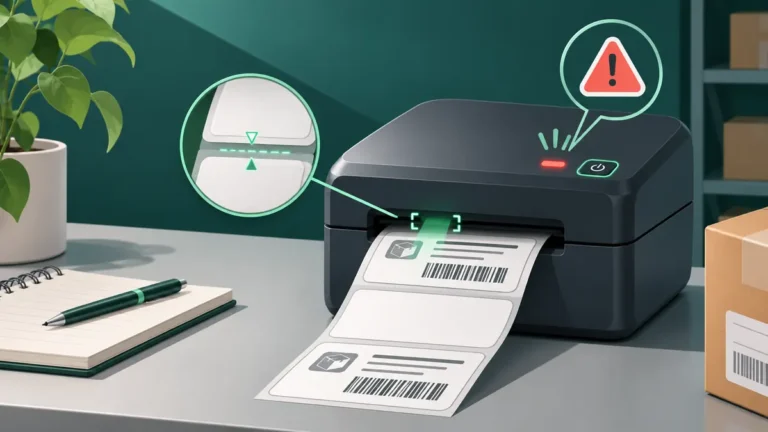
Die-cut labels often use a translucent gap between stickers; other stock may use a printed black mark or continuous material. The printer must use a sensing method that works with the stock. A sensor that looks for the wrong signal can advance stock unpredictably.
Check whether the roll has gaps, marks or no registration features, then confirm that the chosen mode is supported by your printer. On models with adjustable optical sensors, follow the manufacturer’s loading and positioning instructions.
6. Calibrate using the roll that is actually loaded
When you change label suppliers or media types, recalibration may be useful. Many printers deliberately feed several labels during calibration to learn the gap or mark position. Use the documented calibration procedure for the exact model. Avoid holding random combinations of buttons or initiating a factory reset as a first response.
After calibration, print one label from a known-good file. Note whether the extra blank label happens once at startup, after every individual job or throughout a longer run; these observations can narrow the diagnosis.
7. Compare application and PDF-viewer output
Print a single 4×6 PDF using one supported PDF viewer, then another, keeping the same printer preset. If the problem happens only when printing from a web page, inspect the browser’s headers, footers, scale and page-break handling. Use the shipping service’s dedicated label PDF instead of printing its website layout whenever possible.
Also check the operating system’s print queue to rule out a repeated document or duplicate job. Printing two copies by mistake produces a different pattern from one extra blank feed.
8. Use approved maintenance, then escalate if needed
Label fragments and adhesive residue can interfere with media sensing. Power off and let the printer cool before cleaning, using the method and materials listed by the manufacturer. Do not force tools into the sensor path. If the printer’s own tests still feed incorrectly after supported media setup and calibration, seek model-specific service guidance.
Frequently asked questions
Is a blank label after each job normal?
Some printers move stock to a tear-off or presentation position, but that does not always consume an entire extra sticker. Check the documented behavior and output mode for your device.
Can a 4×6 PDF cause an extra blank label?
Yes, if the source has an additional page or the driver and application disagree about page size. A one-page PDF combined with a built-in printer test helps identify where the problem begins.
Why does the problem happen only with one label roll?
The new roll may have different gap dimensions, black marks, coating, liner or loading orientation. Verify compatibility and recalibrate as specified for the printer.
Should I reset the printer to factory defaults?
Not as a first step. A reset may erase network, media and print-method settings that were previously working. Document the configuration and test reversible changes first.
Important: Exact sensor, cutter and tear-off options vary by printer model and installed hardware. Refer to the manufacturer’s official instructions before adjusting moving mechanisms.
Independent general troubleshooting information for shipping labels and thermal printers. Model-specific button sequences, cleaning supplies and service instructions can differ; consult your manufacturer's official documentation. Never alter a carrier-generated barcode.